 Tutorial
Home>Tutorial>How to Add Text Watermark to Photo?
How to Add Text Watermark to Photo?
2020-03-09
Users have been using Bitwar Watermark Expert for removing the watermark from their photos. Right now, with the latest version 2.0, Bitwar users can add watermark to pictures. Besides, it allows users to add text or image type of watermark, but this article will show how to add a text watermark to a photo quickly.
So let’s all look through the tutorial below to learn the steps to add text watermark to photo now!
Steps to Add Text Watermark to Photo
All users download the latest version of Bitwar Watermark Expert from the official website: https://www.easepaint.com/, or you can refer here on ‘How to Install Bitwar Watermark Remover on Windows.’

Step 1. After finish installation, Launch Bitwar Watermark Expert on your system.

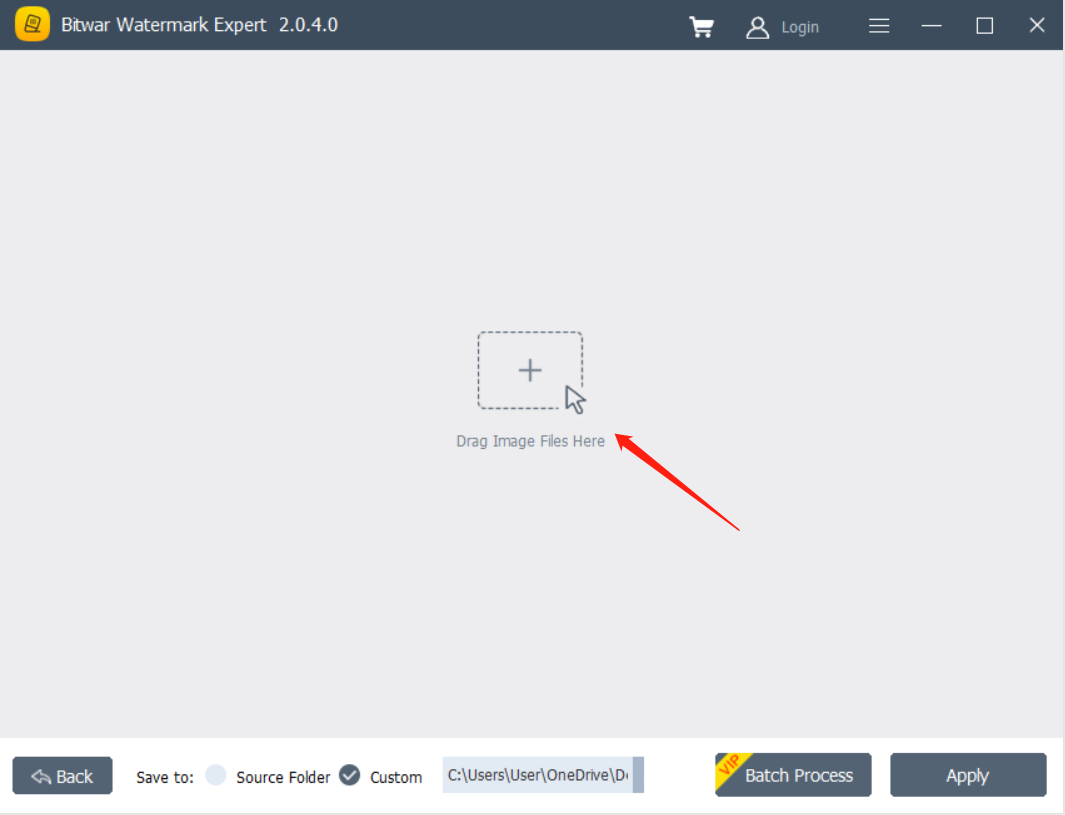
Step 2. From the main interface, choose Watermark Photo and Click the icon to add the image into the software.
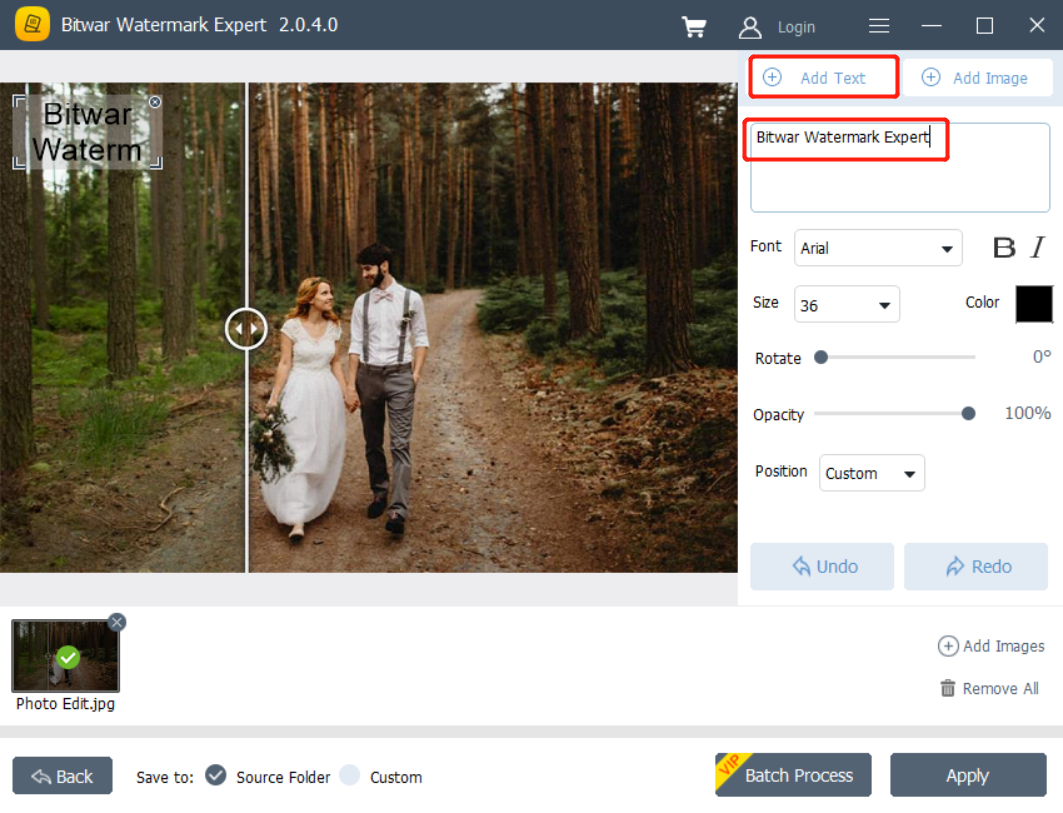
Step 3. Choose Add Text on the top right side and Type in the text that you want to add.
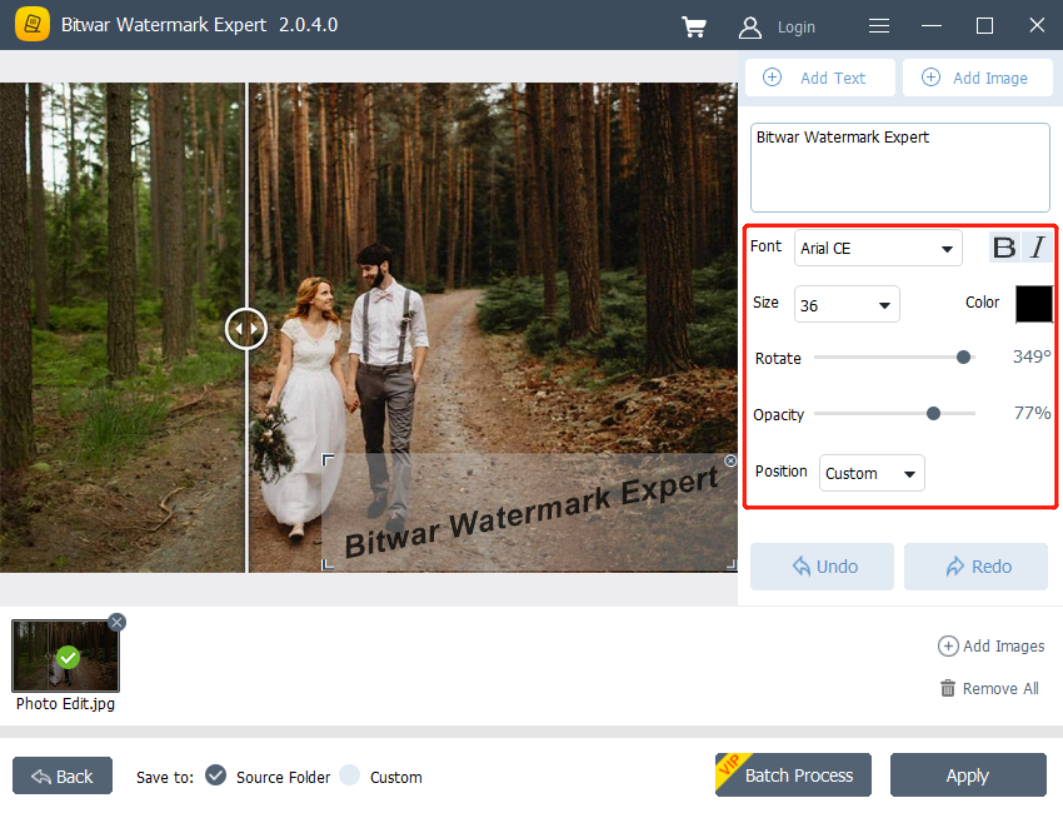
Step 4. Configure the text watermark setting by using the Font Type, Size, Rotate, Opacity, and Position.
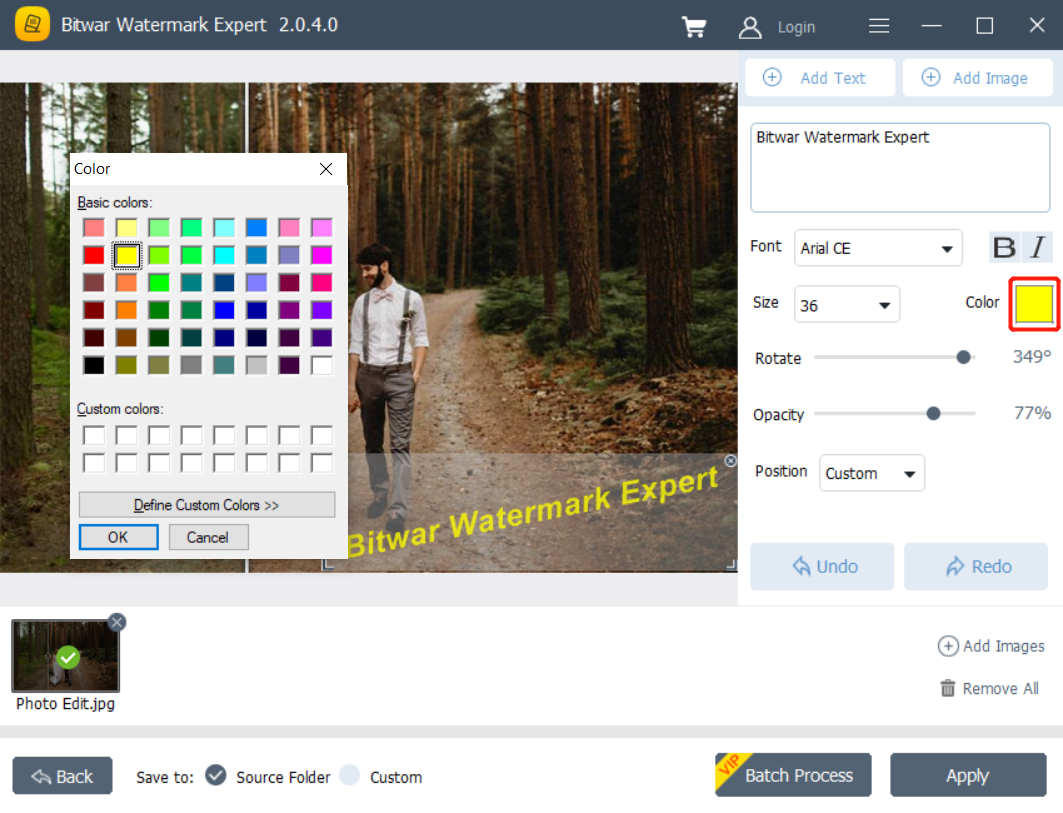
Step 5. Click the Color box to set the watermark color and click Ok. Then Set the watermark location by dragging and adjusting the text box.
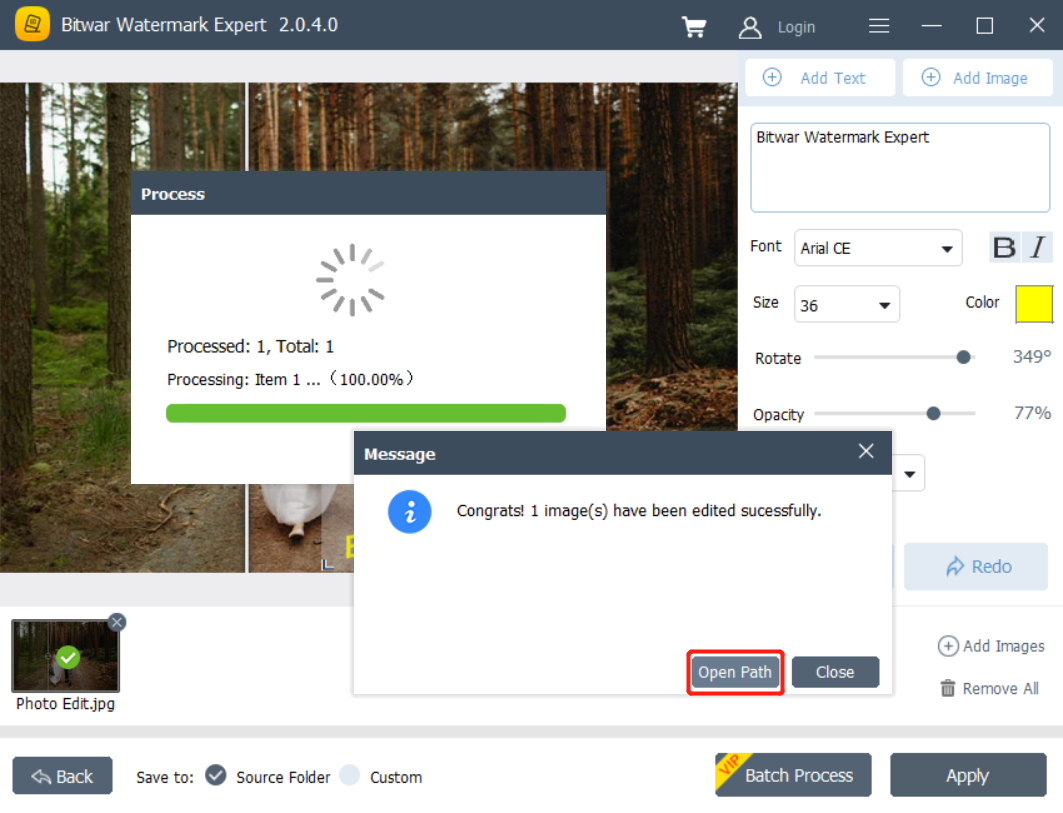
Step 6. Finally, click Apply to add a watermark. Please wait for a while for the process to complete, and click Open Patch to Preview the photo.
Add your Text Watermark Now!
That’s how you add text watermark to your photo by using the Bitwar Watermark Expert. Suppose that you had difficulties when adding the watermark. Please contact our customer support as we are happy to help users to solve their problem immediately!