 Tutorial
Home>Tutorial>How to Add Image Watermark to Photo?
How to Add Image Watermark to Photo?
2020-03-10
In the latest version of the Bitwar Watermark Expert watermark photo, users can add in Text Watermark and Image Watermark to photo easily. So remember to update the software to the latest 2.0 version or look here on How to Install Bitwar Watermark Expert.
Then, follow the tutorial below to learn the steps to add Image Watermark to the photo now!

Steps to Add Image Watermark to Photo
So after installation is complete, please create an account or log in to your existing account to enjoy all the tools and benefits provided by the software.
Step 1. Launch Bitwar Watermark Expert.

Step 2. Choose Watermark Photo on the main interface and click the Add icon to add the picture into the software.

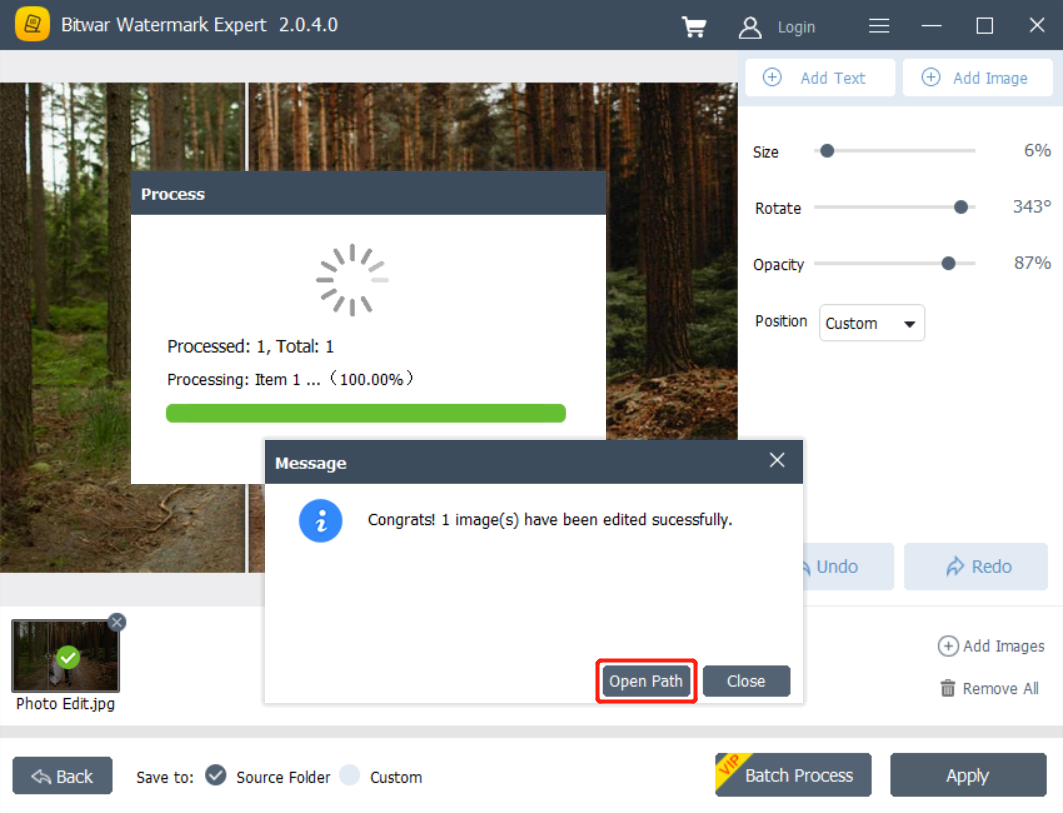
Step 3. Click Add Image on the top right of the software to browse for the Image Watermark. Then, edit the watermark by configuring the Size, Rotate, Opacity, or Position in the software.

Step 4. When finish editing, click Apply and wait for a while for the process to complete. Lastly, click Open Path to preview the new photo!

That’s all you Need to Do!
Follow every single step above, and you will add Image Watermark to your photo easily! So let’s watermark your photo now and along the way you faced any technical issue or problem, please contact our customer support immediately as we will find out best support to solve your problem!
